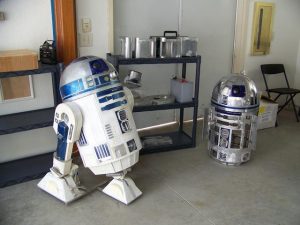
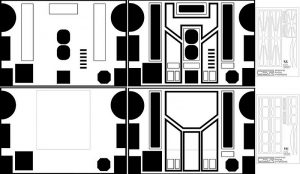
In this post I’ll be discussing the process of putting the legs together – not to say that they’re 100% complete right now, however they distinctly look like legs and there were some valuable lessons learned along the way, so it seems like a good time to make a post 🙂
 So what we have here is the leg inner plate lying down with all of the assorted struts and bracing pieces lying to its right. Because the parts I cut out were less than perfect every time I was applying a piece to the inner plate I would have to whittle/sand down the edges to try and make it as level as possible. Despite my best efforts this process proved to be nigh impossible and I reconciled myself to having to touch it up after I had glued them down to the best of my ability.
After several hours of whittling, sanding and gluing I got this result:

This is what it came to look like once I had managed to properly attach all of the pieces. You can definitely see some of the gaps in the pieces in this image though, and this is as a result of not being able to accurately cut the edges down and keep them as straight as I would have liked. For the most part everything is still quite thoroughly attached, but I was worried about the torque on the legs during turns so I took an extra step before putting the top plate over the legs.
 In the above image you can see how I’ve used plastic “sawdust” that I collected from the process of cutting out all of the parts and then sprinkled it along the edges of the pieces I’m trying to join together. What this allows me to do is apply enough solvent that it turns the plastic so viscous it can easily fill any gaps in the seam. Once that solvent dissolves it leaves behind solid plastic that may as well have always been one piece. One issue I had here was an inability to be absolutely certain that the edges were perfectly straight (perpendicular to the leg inner plate). I did what I could by holding a cardboard box up against the pieces and letting them dry using it to form a 90 degree angle, but it wasn’t totally perfect. Below is a picture showing that I repeated this process along the rest of the leg as well. This picture is while I was still doing it, which is why there are still some gaps at the bottom.
Once I had gone through and ensured that all the gaps were properly filled it was time to glue the top plate onto the rest of the leg. This posed a similar challenge to ensuring that it was aligned and making as much contact across the leg as possible. I had to whittle/sand down the leg in several places to maximize the contact. Once I’d done that I repeated the process of adding the sawdust and filling in any visible gaps. The result can be seen below after I had repeated all of the above process with the second leg as well.


